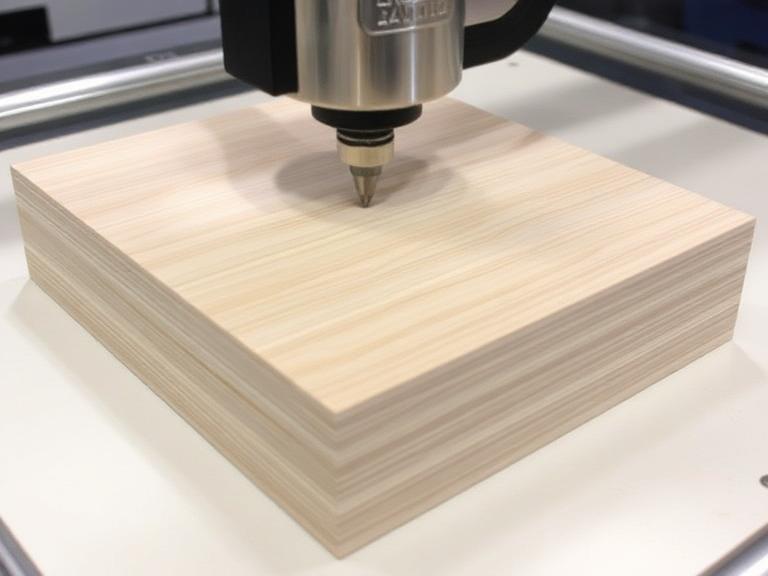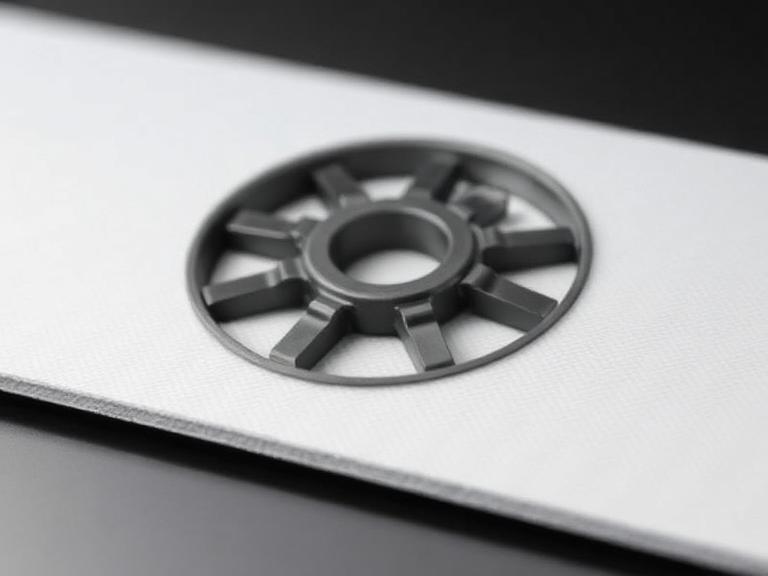
The manufacturing of high-pressure industrial laminates is a highly controlled sequence of chemical engineering and mechanical compression. G10—a military-grade thermosetting epoxy fiberglass composite—is universally trusted across aerospace, heavy power transmission, and semiconductor testing sectors due to its near-zero moisture absorption and incredible dimensional stability. However, achieving these exact physical properties requires an aggressive, multi-stage thermo-chemical transformation. From our experience at SjcncinSulation, understanding the core sequence required to make g10 material is the single most vital factor for engineers designing high-reliability components.
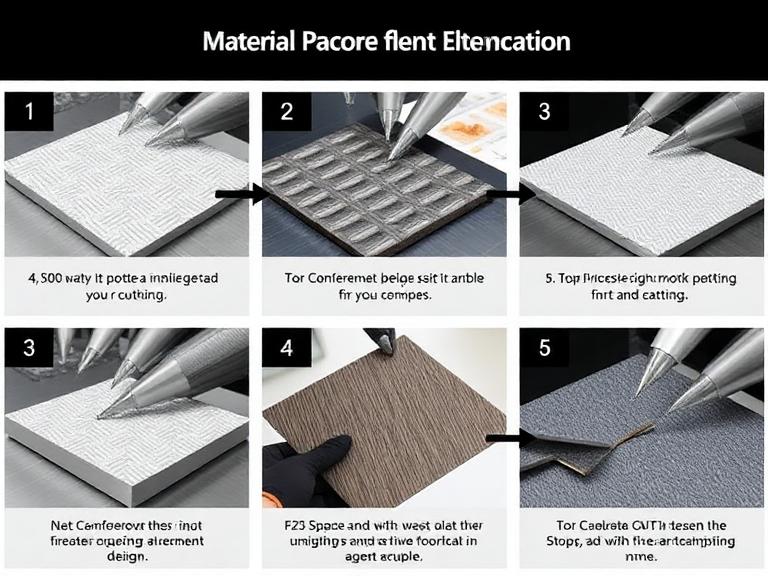
A sheet of genuine G10 cannot be replicated in a standard open-mold casting facility or via basic manual resin layups. The material derives its legendary flexural strength and dielectric insulation from a highly calculated glass-to-resin density and complete polymer cross-linking under extreme hydraulic force. If a production facility shortcuts the thermal ramp cycles or fails to stabilize the chemical advancement of the pre-impregnated materials, the resulting sheets will suffer from hidden micro-voids, early delamination, and rapid dielectric breakdown under electrical load. We recommend looking past generic descriptions and analyzing the exact thermo-mechanical parameters that define true NEMA-grade composite lamination.
In this publication-ready industrial guide, we trace the six essential manufacturing steps required to make g10 material from raw chemical components to finished structural plates. We analyze the specific dynamics of epoxy resin chemistry, review high-pressure lamination parameters, evaluate post-cure thermal schedules, and demonstrate how picking the correct material composition impacts real-world part execution.
Table of Contents
- 1. The Raw Material Foundations of G10 Composites
- 2. Step 1: Raw Formulation and Chemical Impregnation
- 3. Step 2: The B-Stage Thermal Advancement Oven
- 4. Step 3: High-Precision Shearing and Structural Layup
- 5. Step 4: High-Pressure Thermo-Consolidation Lamination
- 6. Step 5: Advanced Post-Cure Thermal Stabilization
- 7. Step 6: Mechanical Edge Sizing and Surface Customization
- 8. Technical Parameter Matrix: Curing Cycles and Pressure Tiers
- 9. Comprehensive Quality Assurance and Certification Metrics
- 10. Frequently Asked Questions (FAQs)
- 11. International Composite Manufacturing Reference Standards
1. The Raw Material Foundations of G10 Composites
To fully grasp the complexity of the processing sequence, you must first evaluate the individual components before they ever face a hydraulic press. G10 is a specialized composite material built on a backbone of continuous-filament, woven E-glass fiberglass fabric. This specific grade of glass is chosen for its superior tensile properties and excellent electrical insulation capabilities. To understand how these base layers fit into broader engineering projects, specialists can review our comprehensive breakdown of fiberglass reinforced plastics types found across high-stress environments.
The binding matrix that completes the composite is a specially formulated, non-brominated thermosetting epoxy resin system. Unlike its flame-retardant cousin FR4, standard G10 focuses purely on maximizing mechanical strength and keeping chemical resistance high. Evaluating the underlying costs of these base chemicals is essential for volume budgeting. For a deeper look into industrial pricing, you can study our analytical epoxy sheet price analysis report. Mismatched raw elements or contamination in the chemical components will permanently weaken the composite bond.
2. Step 1: Raw Formulation and Chemical Impregnation
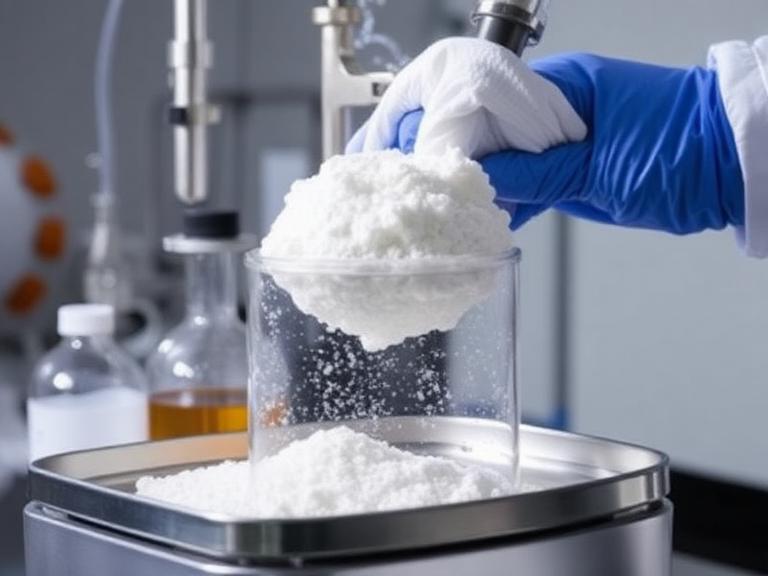
The manufacturing process to make g10 material begins with raw material preparation and automated resin impregnation. Massive rolls of industrial woven E-glass fabric are mounted on heavy-duty tension unwinding lines. The fabric is drawn at a highly consistent linear speed into a specialized dip-tank filled with our liquid epoxy formulation, which contains exact ratios of resins, hardeners, and specific wetting agents.
From our experience, this impregnation step must be monitored carefully using automated viscosity sensors. The liquid epoxy must flow fully into the fine gaps between every individual woven glass filament, completely displacing air pockets and achieving total fiber wetting. If the resin viscosity is slightly too high, the fabric will suffer from dry spots; if it is too thin, the resin content will drop below the necessary threshold, leaving the material prone to structural failure under heavy loads. This primary chemical saturation step sets the foundation for the entire structural plate.
3. Step 2: The B-Stage Thermal Advancement Oven
Immediately after exiting the liquid impregnation tank, the saturated fiberglass web passes into a multi-zone vertical drying tower or horizontal convective heating oven. The goal of this stage is not to completely harden the resin, but to advance the epoxy polymerization to a highly specific, semi-cured state known across the composite industry as the B-stage or prepreg phase.
The heating zone is closely monitored, maintaining strict temperatures between 150°C and 180°C. This thermal exposure drives off volatile solvents and kicks off the initial chemical cross-linking, advancing the molecular polymerization to roughly 30% to 40% completion. The resulting prepreg web emerges from the tower in a dry, slightly tacky, and completely handleable form. This semi-cured material can be rolled and handled easily without bonding permanently, preserving its reactive capacity for the final consolidation stage.
This automated thermal treatment mirrors the strict control methods used across precision liquid handling industries. For example, in automated chemical processing networks, facilities utilize specialized Precision Ceramic Pumps to deliver completely consistent fluid volumes without chemical shearing. In the same way, composite towers rely on steady thermal distribution to ensure the prepreg achieves uniform chemical advancement across every square inch of the fiberglass roll.
3. Step 3: High-Precision Shearing and Structural Layup
Once the advanced B-stage prepreg has cooled, it moves directly onto automated cutting tables. Heavy rotary blades slice the continuous fiberglass web into separate sheets matching the final panel dimensions, such as standard 4×8 foot industrial footprints. Operators stack these sheets precisely to achieve the targeted thickness requested by the design blueprints.
To ensure uniform mechanical properties across the entire sheet, we recommend utilizing a cross-plied structural layup sequence, rotating the orientation of individual prepreg layers by 90 degrees as they are stacked. For heavy-duty industrial components, anywhere from 20 to over 150 layers of prepreg may be required to achieve the necessary thickness block. This stacked assembly is placed carefully between polished steel caul plates and smooth release films, preparing the bundle for the extreme forces of the lamination press.
Managing this raw sheet preparation is critical for controlling material waste and optimizing manufacturing budgets. When planning massive commercial builds, structural design teams rely on our detailed fiberglass sheets cost guide to estimate total material weight and trace processing times across different thickness profiles, ensuring accurate project pricing from the very start.
4. Step 4: High-Pressure Thermo-Consolidation Lamination
The stacked layup assembly is transferred into the heart of the production facility: a multi-opening, computer-controlled hydraulic laminating press. This massive piece of machinery must apply extreme heat and pressure simultaneously to fuse the separate prepreg layers into a single, high-density plate. This intense compression phase is where the raw elements officially convert into true G10 composite.
Typical pressing parameters for this consolidation stage include:
- Lamination Pressure: 1,000 to 2,000 psi (7 to 14 MPa) of continuous hydraulic force.
- Press Temperature: 150°C to 180°C (300°F to 355°F) managed via internal thermal oil lines.
- Dwell Window: 60 to 90 minutes of continuous compression depending on the core thickness.
Under these intense forces, the semi-cured epoxy resin liquefies completely, flowing smoothly under pressure to fill every microscopic void between the woven sheets. As the temperature climbs, it triggers the secondary curing agents, causing complete chemical cross-linking of the epoxy molecules. This permanent chemical reaction bonds the separate fiberglass layers into a rock-solid, completely uniform board with zero internal air pockets.
5. Step 5: Advanced Post-Cure Thermal Stabilization
When the initial pressing cycle wraps up, the material has achieved its solid shape, but its chemical evolution is not quite finished. To reach maximum performance, the newly consolidated sheets undergo an intensive post-curing cycle inside industrial convection ovens.
We recommend a post-cure bake lasting several hours at elevated temperatures between 160°C and 180°C. This extended thermal treatment completes any remaining polymerization reactions, locking down the epoxy matrix into a highly stable state. Post-curing maximizes the glass transition temperature (Tg) of the material, improves its dimensional stability across temperature swings, and ensures it achieves its maximum mechanical strength before facing any cutting tools.
6. Step 6: Mechanical Edge Sizing and Surface Customization
The final step in the process to make g10 material focuses on mechanical finishing and surface sizing. As the sheets cool down from the post-cure oven, the edges are uneven where excess resin squeezed out during compression. Industrial saws trim these rough edges down to clean, precise commercial dimensions.
Depending on the final application, the surface of the G10 sheets can be customized through specific mechanical treatments. For items requiring excellent bonding adhesion, abrasive blasting or chemical etching is used to increase surface roughness. Conversely, high-precision sanders can buff the faces down to a smooth, ultra-flat finish for applications requiring minimal friction. For complex composite structures that combine multiple layer styles, engineers consult our industrial guide on fiberglass honeycomb panels cost metrics to compare traditional high-pressure laminates against lightweight core assemblies, ensuring the proper structural balance for the job.
8. Technical Parameter Matrix: Curing Cycles and Pressure Tiers
To show how processing parameters scale across different laminate classes, this reference matrix compares the manufacturing benchmarks required to make g10 material against other common industrial laminates.
| Laminate Grade Designation | Primary Resin Matrix Type | Optimal Press Pressure | Peak Press Temperature | Post-Cure Bake Duration | Target Engineering Strength |
|---|---|---|---|---|---|
| Industrial G10 | Standard Thermoset Epoxy | 1200 – 1800 psi | 160°C – 175°C | 4 – 6 Hours | Maximum flexural strength and lowest moisture intake |
| Flame-Retardant FR4 | Brominated Epoxy Blend | 1000 – 1500 psi | 150°C – 165°C | 3 – 5 Hours | Self-extinguishing compliance for circuit boards |
| High-Temp G11 | High-Performance Epoxy | 1400 – 2000 psi | 175°C – 190°C | 6 – 8 Hours | Continuous structural stability up to 180°C |
| Phenolic Canvas (CE) | Phenol-Formaldehyde | 1200 – 1600 psi | 140°C – 155°C | 2 – 4 Hours | Excellent impact resistance and easy machining |
9. Comprehensive Quality Assurance and Certification Metrics
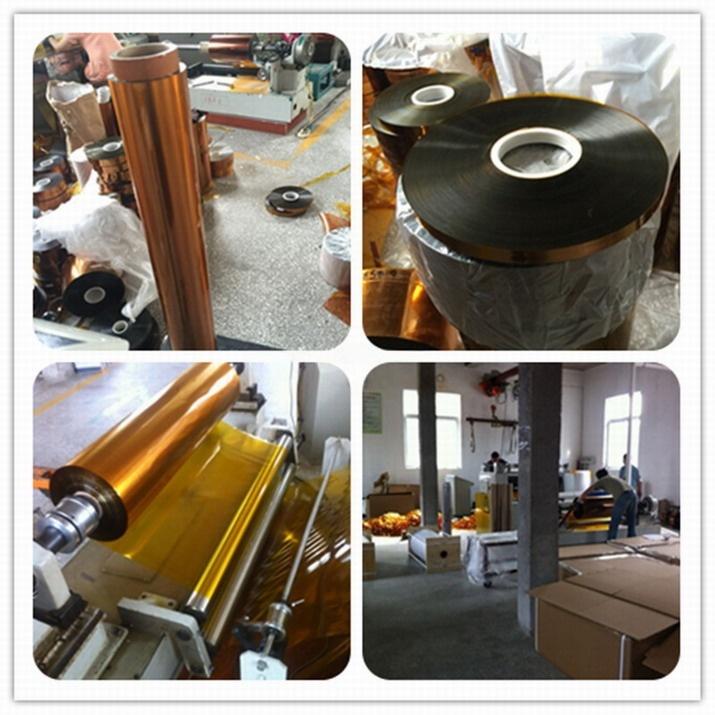
From our extensive experience, verifying that a production batch matches strict NEMA standards requires continuous laboratory validation. You cannot determine a panel’s insulation value or structural strength simply by looking at the surface. Every production run must undergo strict tracking, evaluating core physical performance metrics under controlled test conditions.
Samples from each batch are placed in specialized testing rigs to confirm they meet minimum flexural strength benchmarks—typically targeting 45,000 psi in the lengthwise direction. Additionally, sheets undergo high-voltage testing to confirm their dielectric strength meets or exceeds 500 volts per mil. This strict testing process ensures the material can act as a reliable insulator across heavy electrical networks, matching the high performance of other premier electrical insulation sheet materials found in grid infrastructure.
Maintaining this intense level of process tracking is standard practice across all high-reliability technology fields. For example, in the electronics assembly sector, manufacturers utilize advanced PCBA Assembly Services within cleanrooms to inspect multi-layer boards under x-ray scanners, ensuring zero trace breaks. In the same way, composite factories use precision thickness testing and water-absorption baths to guarantee every single G10 panel provides completely dependable, long-term service in harsh industrial environments.
10. Frequently Asked Questions (FAQs)
What is the difference between G10 and FR4 materials?
The primary difference is that FR4 contains a brominated flame-retardant additive within its epoxy resin matrix, allowing it to pass strict UL94V-0 self-extinguishing tests for circuit boards. Standard G10 does not include bromine, focusing purely on maximizing mechanical strength and keeping chemical resistance high.
Why is high hydraulic pressure required during the lamination process?
Applying high pressure (over 1,000 psi) compresses the liquefied epoxy resin deep into the woven fiberglass cloth. This intense pressure squeezes out excess resin, removes trapped air, and consolidates the stack into a high-density, uniform sheet with zero internal micro-voids.
Can G10 sheets be melted and reformed after manufacturing is complete?
No, G10 utilizes a thermosetting epoxy resin matrix. Once the resin undergoes its thermal cross-linking reaction under heat and pressure, its chemical structure is permanently set. It cannot melt or be reshaped by reheating; exposing it to extreme heat will simply burn the polymer resin.
What causes thickness variations across a finished G10 sheet?
Thickness variations are typically caused by uneven pressure distribution across the press plates, or variations in the raw prepreg fabric density. Leading manufacturers utilize high-precision hydraulic systems and polished caul plates to ensure thickness is completely uniform across the entire sheet.
Is G10 safe to use in high-humidity or marine applications?
Yes, thanks to its high-pressure lamination and dense epoxy matrix, genuine G10 has an exceptionally low water absorption rate (typically under 0.10%). It maintains its full mechanical strength and outstanding electrical insulation properties even when continuously exposed to high humidity or saltwater environments.
11. International Composite Manufacturing Reference Standards
The chemical processes, compression parameters, and quality testing methods detailed in this technical manual match current international composite and engineering benchmarks, including:
- NEMA LI 1-1998 – Industrial Laminated Thermosetting Products, establishing the baseline standard for G10 material properties.
- ASTM D709 – Standard Specification for Laminated Thermosetting Materials, detailing strict quality metrics for testing high-pressure industrial composite sheets.
- ISO 1642 – Plastics – Industrial laminated sheets based on thermosetting resins for electrical purposes, defining international compliance metrics for structural composite production.